Total Cooking Time: 35–40 minutes
Difficulty Level: Easy
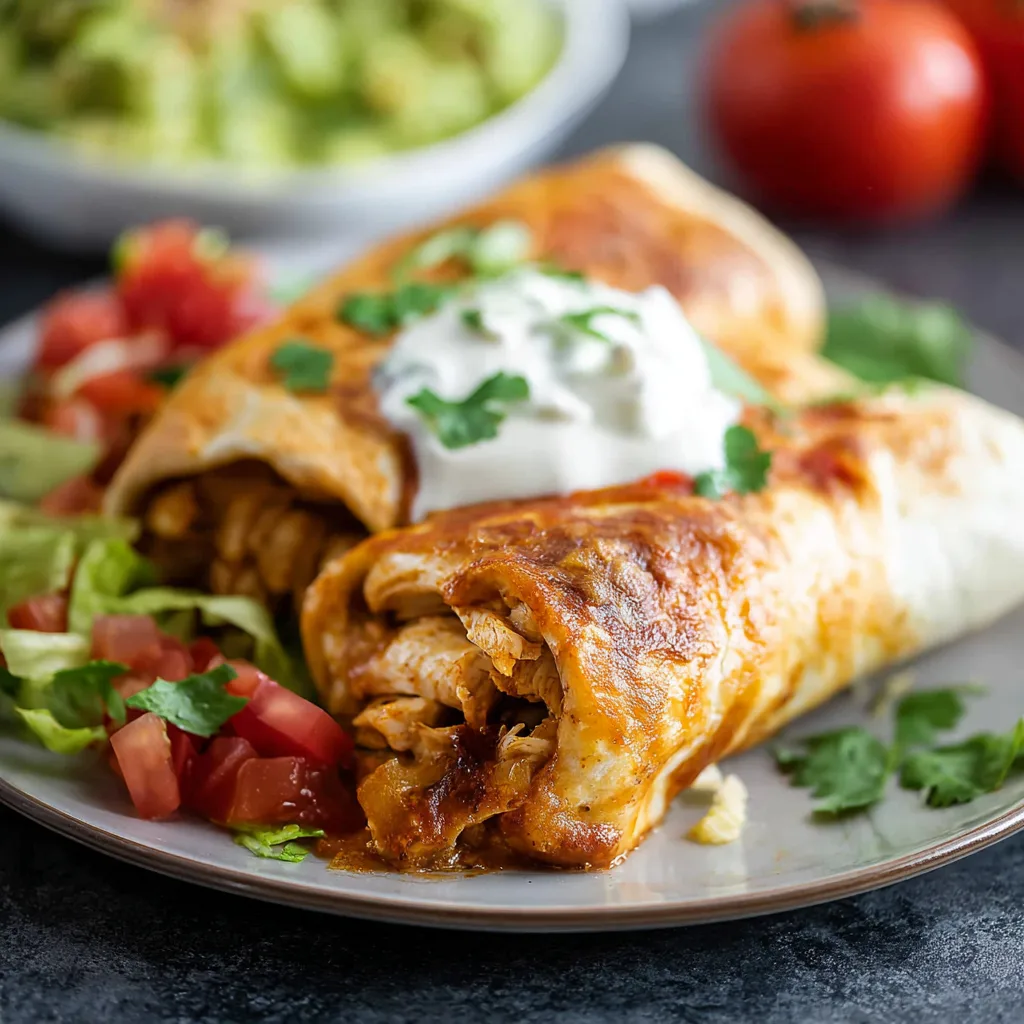
Few things are as satisfying as breaking into a perfectly crispy chimichanga and discovering a warm, cheesy, flavor-packed filling inside. These Easy Chicken Chimichangas deliver that irresistible crunch on the outside with a creamy, savory chicken center that feels indulgent and comforting. The tortillas bake up golden and crisp, while the filling stays rich, melty, and deeply seasoned. As they cook, the kitchen fills with the mouthwatering aroma of toasted tortillas, melted cheese, and Tex-Mex spices that instantly make everyone hungry.
What makes this recipe truly special is how quickly it comes together without sacrificing flavor or texture. There’s no deep frying, no complicated steps, and no hard-to-find ingredients. It’s the kind of meal that works just as well for busy weeknights as it does for casual gatherings, game days, or make-ahead freezer meals. Kids love the cheesy filling, adults love the crispy bite, and everyone appreciates how customizable they are. Each chimichanga averages around 400–450 calories depending on size and toppings, making them a hearty, satisfying option that still fits comfortably into a balanced lifestyle.

Key Ingredients
• Chicken breast or rotisserie chicken
The protein-rich base of the filling, offering savory flavor and tender texture that absorbs spices beautifully.
• Flour tortillas
Soft, flexible tortillas that roll easily and bake into a perfectly crisp, golden shell.
• Shredded Mexican-blend cheese
Melts seamlessly into the filling, creating that gooey, cheesy center that defines a great chimichanga.
• Cream cheese
Adds richness and creaminess, keeping the filling moist, smooth, and luxurious.
• Yellow onion
Provides gentle sweetness and depth, balancing the spices and enhancing overall flavor.
• Garlic
Boosts aroma and savory warmth, tying all the ingredients together.
• Green chilies
Bring mild heat and classic Tex-Mex flavor without overpowering the dish.
• Cumin
Adds earthy warmth and a signature Mexican-inspired note.
• Chili powder
Contributes gentle heat and smoky depth for bold, well-rounded flavor.
• Paprika
Adds warmth, color, and a subtle smoky-sweet undertone.
• Salt
Essential for enhancing and balancing all flavors in the filling.
• Black pepper
Provides a mild bite that contrasts beautifully with the creamy cheese.
• Olive oil
Used for sautéing and brushing tortillas to achieve crispness without frying.
• Fresh cilantro
Adds brightness and a fresh herbal finish that lightens the rich filling.
• Cooking spray
Ensures even browning and crispy edges with minimal oil.
• Optional toppings (sour cream, salsa, guacamole)
Add creaminess, freshness, and acidity, allowing everyone to customize their plate.
How to Make It (Step-by-Step Method)
Begin by preheating your oven to 425°F (220°C). Line a large baking sheet with parchment paper or lightly coat it with cooking spray. If using raw chicken, season lightly with salt and pepper and cook in a skillet over medium heat with a drizzle of olive oil for 6–8 minutes per side until fully cooked. Let rest for a few minutes, then shred or dice finely. If using rotisserie chicken, simply shred and set aside.
Heat olive oil in a skillet over medium heat and sauté the chopped onion for 3–4 minutes until soft and lightly golden. Add garlic and cook for about 30 seconds until fragrant. Stir in the shredded chicken, green chilies, cumin, chili powder, paprika, salt, and black pepper. Cook for 2–3 minutes, stirring constantly, until the chicken is evenly coated and warmed through.
Lower the heat and add cream cheese, stirring until fully melted and incorporated. Remove the skillet from heat and fold in the shredded cheese and chopped cilantro. The mixture should be creamy, thick, and cohesive, not runny.
Warm the tortillas briefly so they’re pliable. Spoon a generous portion of filling into the center of each tortilla. Fold in the sides, then roll tightly into a burrito shape. Place seam-side down on the prepared baking sheet. Lightly brush or spray the tops with olive oil or cooking spray.
Bake for 18–22 minutes, flipping halfway through, until the chimichangas are deeply golden and crispy. For extra crunch, broil for the final 1–2 minutes, watching carefully. Let them rest for 3–5 minutes before serving so the filling sets slightly.
Serving Suggestions
These Easy Chicken Chimichangas shine in so many serving styles, making them perfect for both everyday dinners and special occasions. For a relaxed family-style meal, arrange the chimichangas on a large platter and garnish with fresh cilantro, sliced jalapeños, and lime wedges. Serve alongside Spanish rice, refried beans, or roasted vegetables for a complete and colorful spread that feels festive yet effortless.
For individual plates, slice the chimichangas in half on a diagonal to show off the cheesy filling. Drizzle lightly with sour cream or crema and add a scoop of guacamole and fresh salsa. The contrast between the crispy tortilla and cool, creamy toppings creates a layered, satisfying bite every time.
They’re also fantastic for entertaining. Set up a build-your-own topping bar with shredded lettuce, diced tomatoes, olives, pico de gallo, hot sauce, and queso. Guests can customize their chimichangas, making the meal interactive and fun. You can even make smaller versions for appetizers or party trays by using smaller tortillas and less filling.
Storage + Meal Prep
Chicken chimichangas are excellent for leftovers and meal prep. Once cooled, store them in an airtight container in the refrigerator for up to 4 days. Placing a paper towel in the container helps absorb moisture and maintain crispness. Avoid stacking them directly on top of each other when possible.
For freezing, assemble the chimichangas but do not bake them. Place them seam-side down on a baking sheet and freeze until solid, then transfer to freezer-safe bags or containers. They’ll keep well for up to 3 months. Bake straight from frozen at 400°F (205°C) for 25–30 minutes, flipping once, until hot and crispy.
To reheat cooked chimichangas, skip the microwave if possible. Use a 375°F (190°C) oven for 10–12 minutes or an air fryer at 350°F (175°C) for 6–8 minutes. Finish with fresh toppings like cilantro, salsa, or avocado to revive flavor and texture.
Conclusion
Easy Chicken Chimichangas are everything comfort food should be—crispy, cheesy, flavorful, and incredibly satisfying. They deliver restaurant-style results with simple ingredients and straightforward steps, making them accessible for cooks of any skill level.
Whether you serve them fresh from the oven for a family dinner, prep them ahead for busy weeks, or customize them with your favorite toppings, this recipe is guaranteed to become a repeat favorite. Try them once, make them your own, and enjoy every crunchy, cheesy bite.